

Getting Started
Follow these steps to unbox and start using your Roc Camera
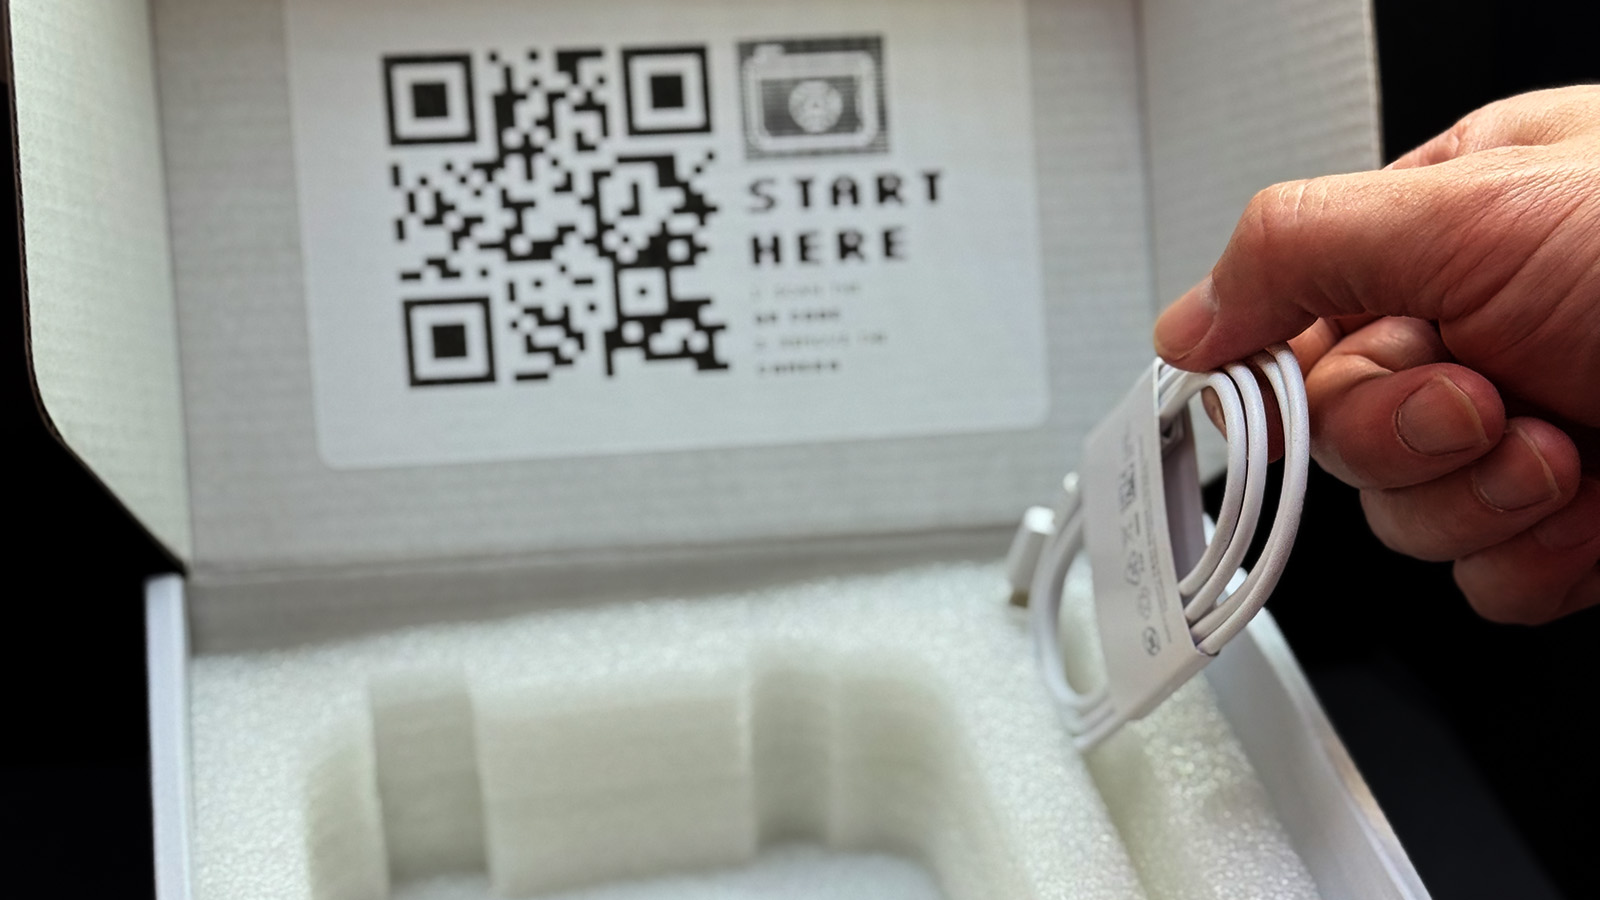
Unbox Your Camera
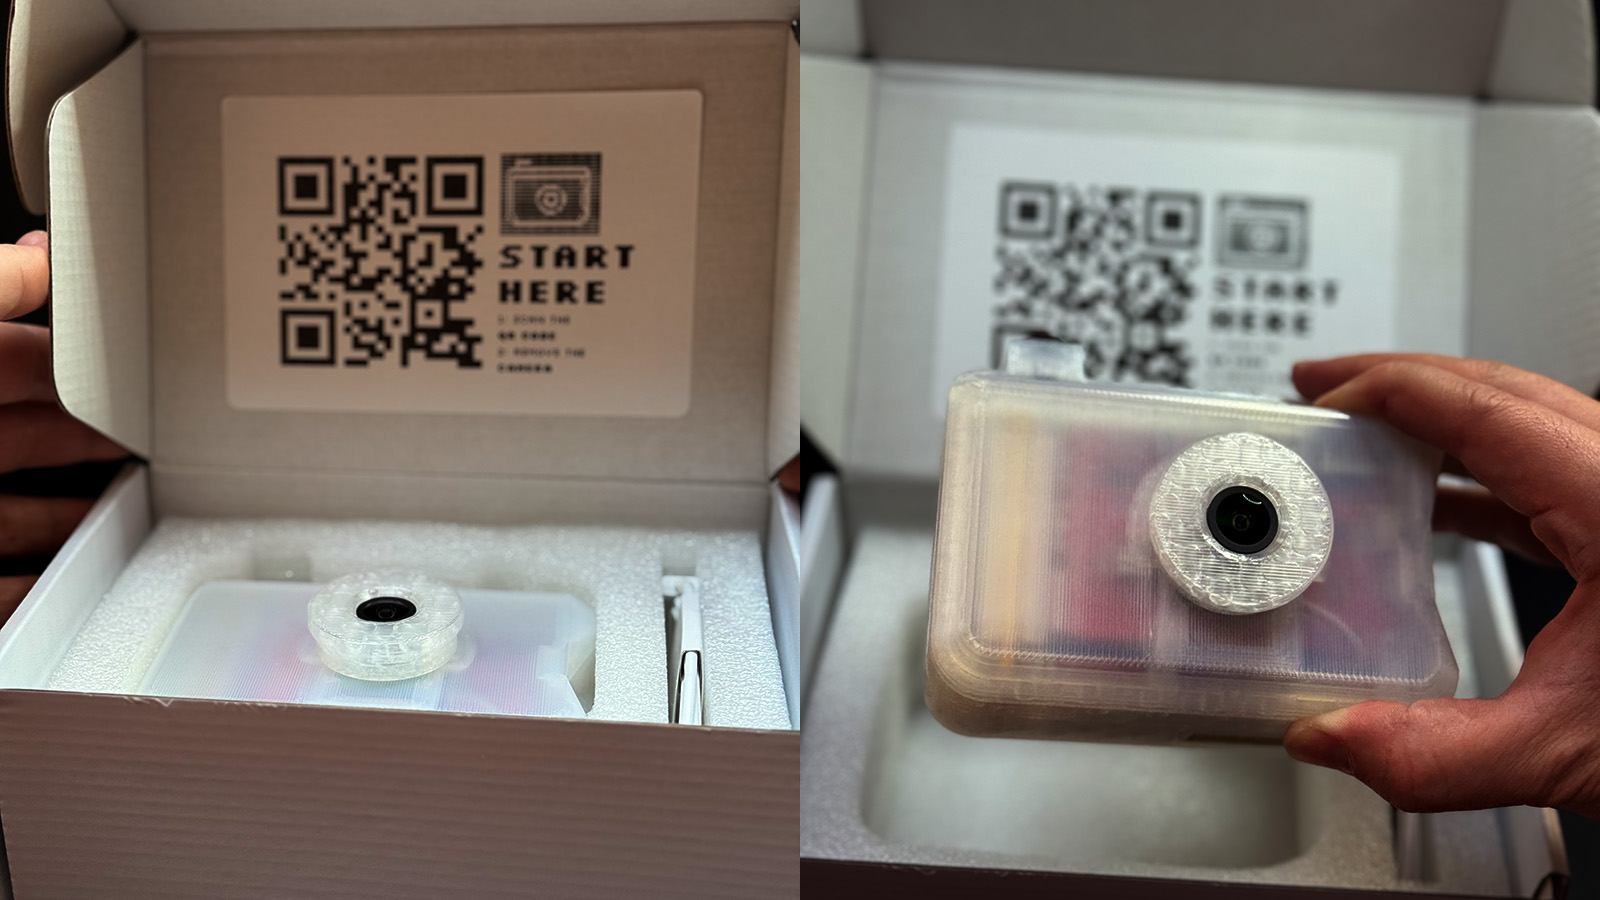
Open your Roc Camera package. You'll find the camera in its protective case, along with a USB-C charging cable. Scan the QR code labeled "START HERE" to access this guide.
Remove Screen Protector
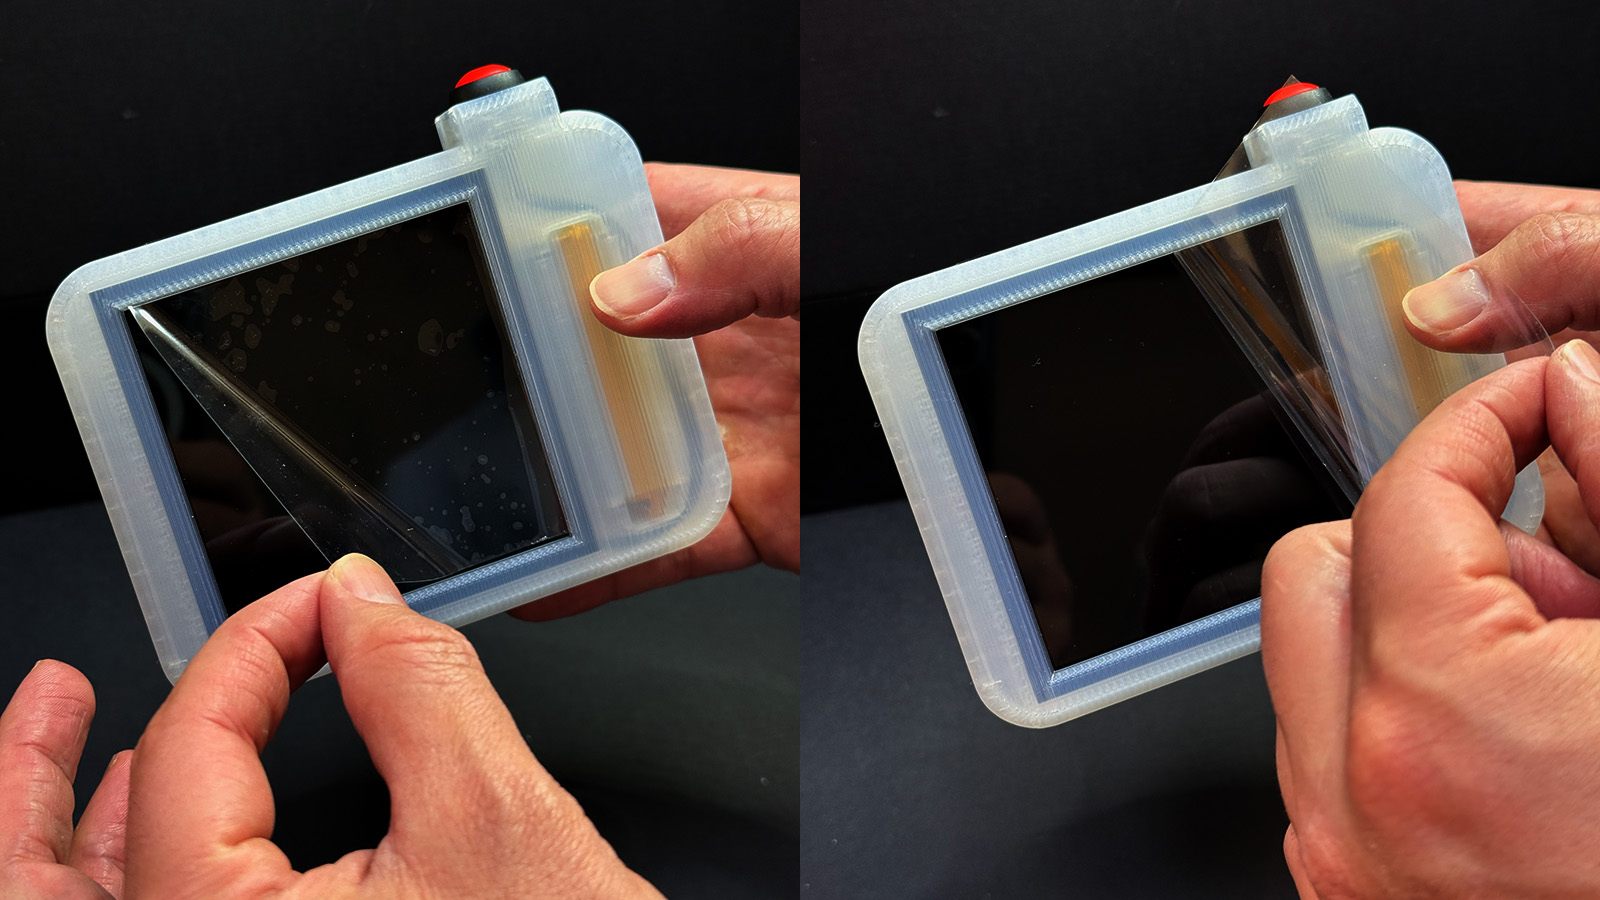
Carefully peel off the protective film from the camera's screen. This film protects the display during shipping.
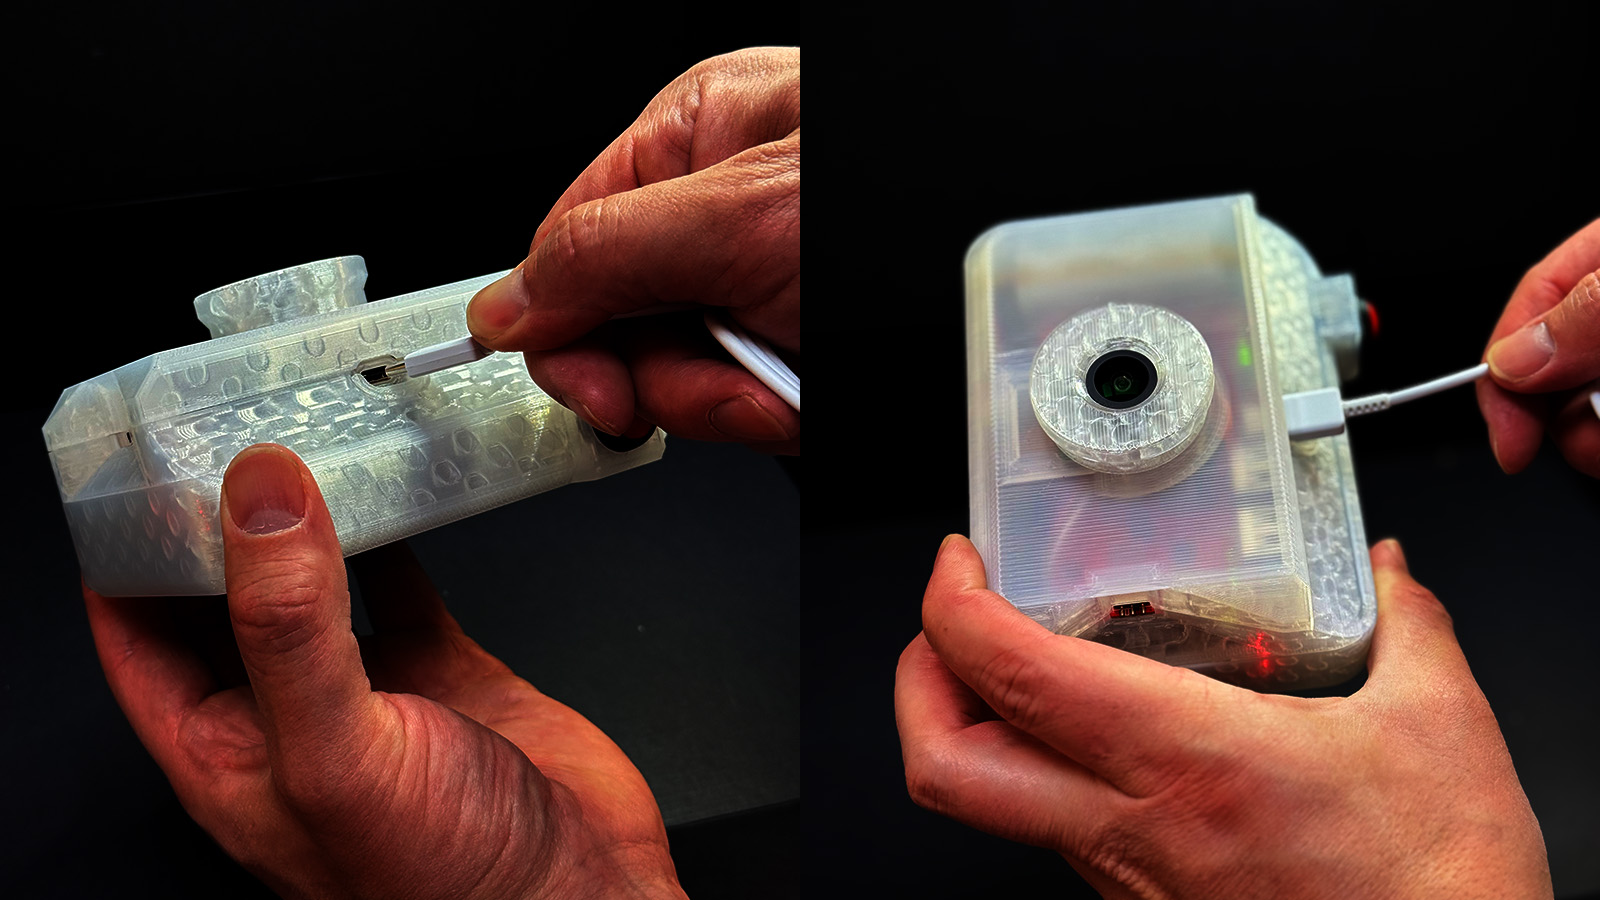
Plug in the USB-C Cable
Plug in the USB-C cable to the camera and a power source. The USB-C port is located on the top middle of the camera. This will ensure your camera has enough power to get started.
Charge Your Camera
Connect the included USB-C cable to charge your camera. The LED indicators will show the charging status.
Power On
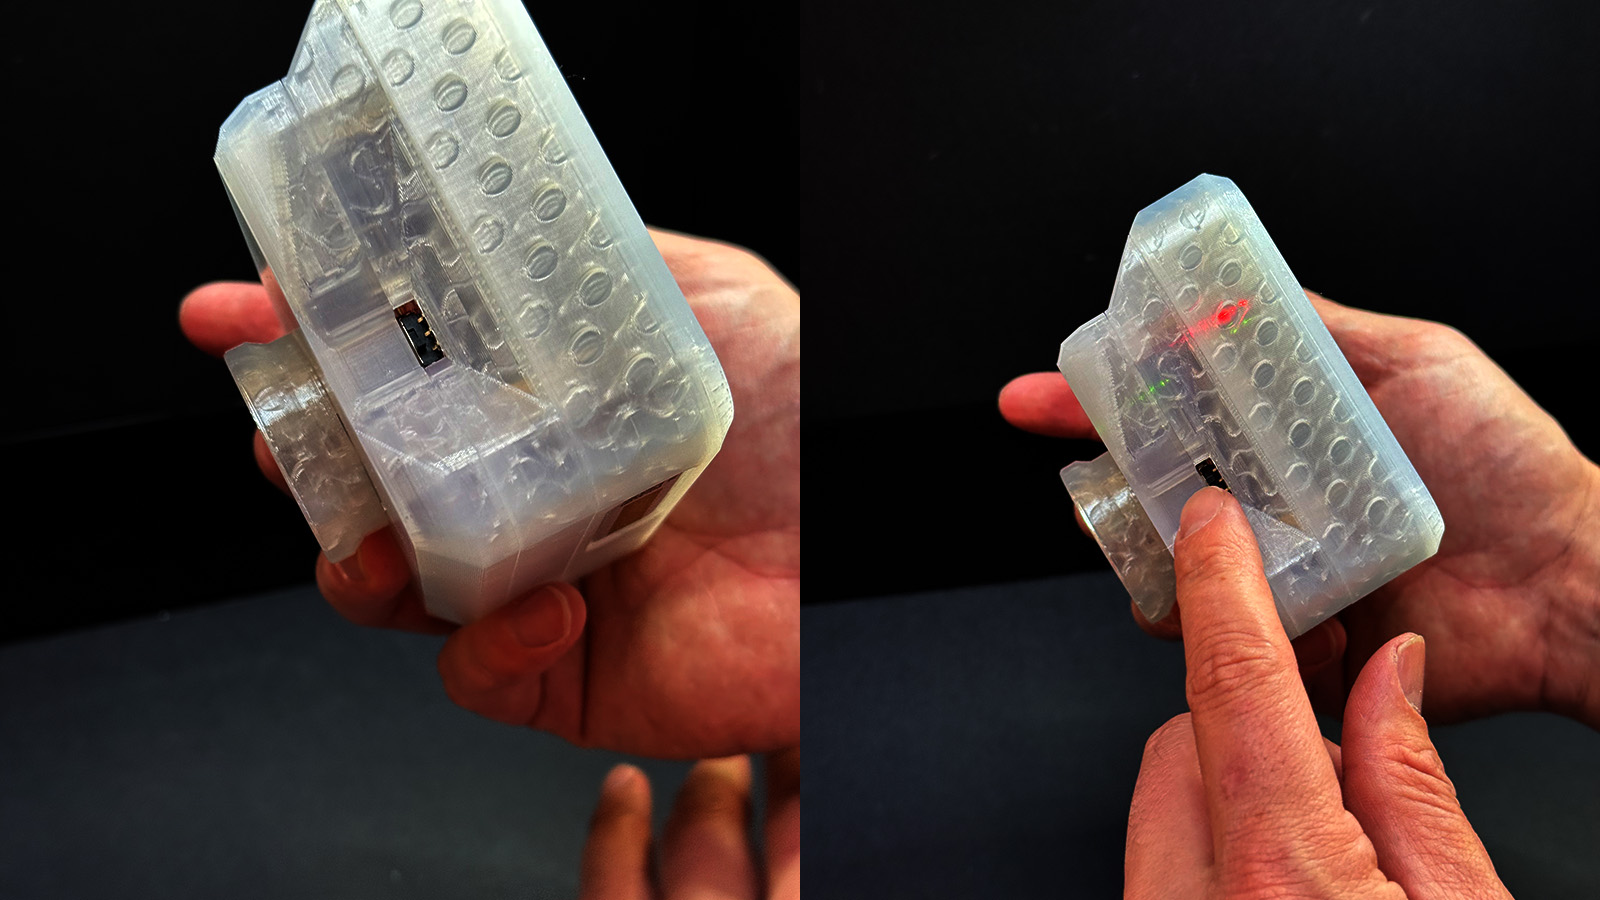
Turn on the camera. If you hold the camera, it's on the left side. There's a little switch, turn it on. It takes about ~30 seconds to start at the moment (we're working on fixing this in a future software update).
Check Battery Level
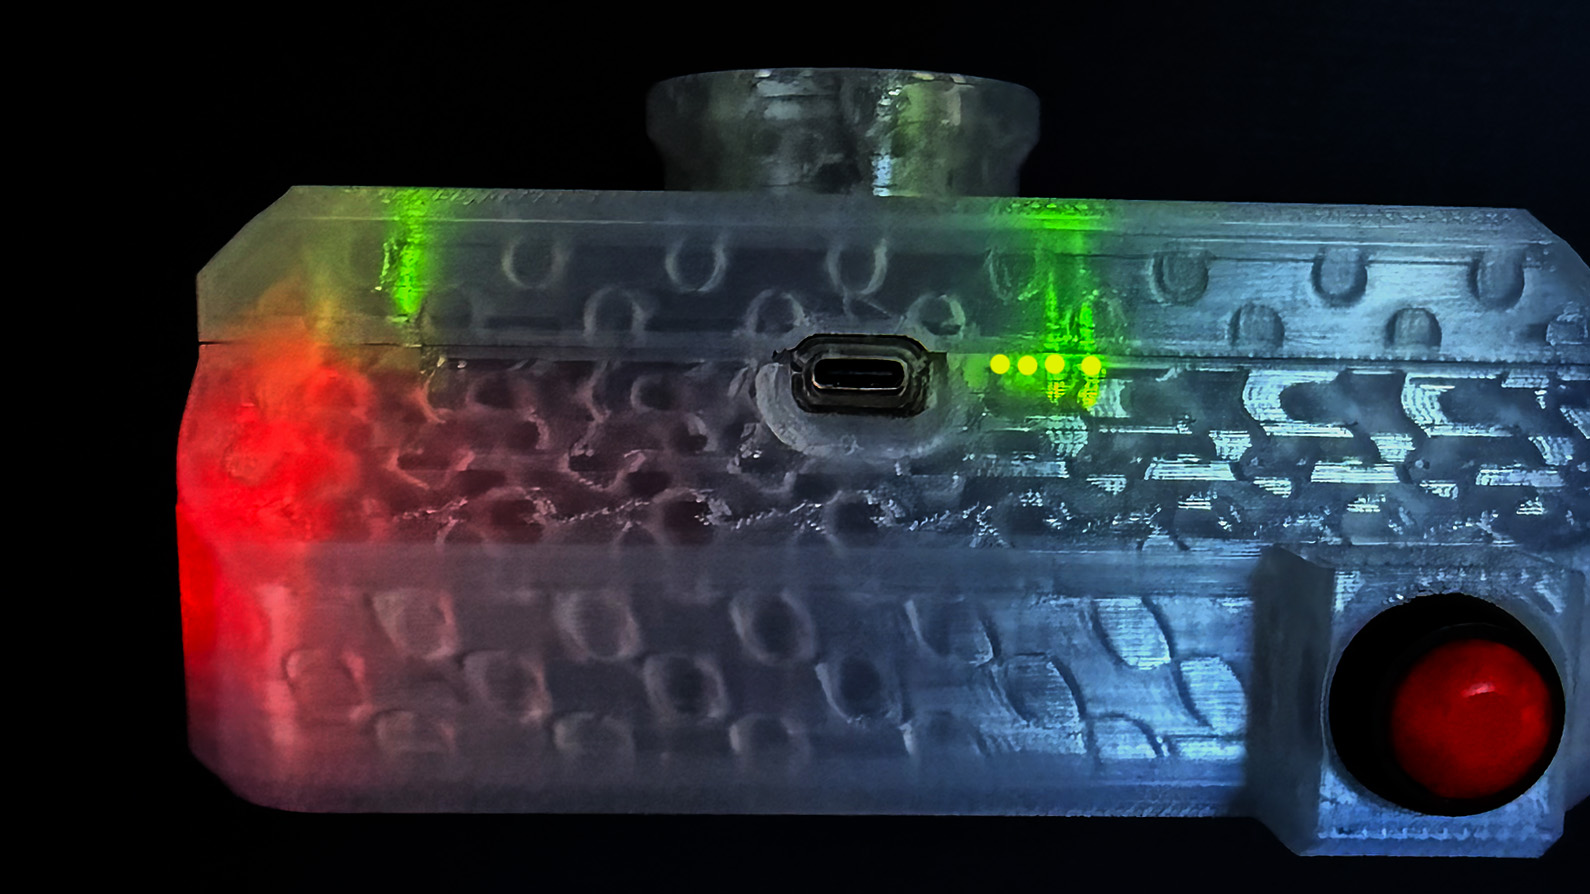
The battery level indicators are on the right of the USB-C port. 4 dots means it's 100%. 3 dots means it is 75%. 2 dots means its battery is 50%. 1 dot means its 25%. If it's flashing, it means it is under 25% and you need to charge.
Start Capturing
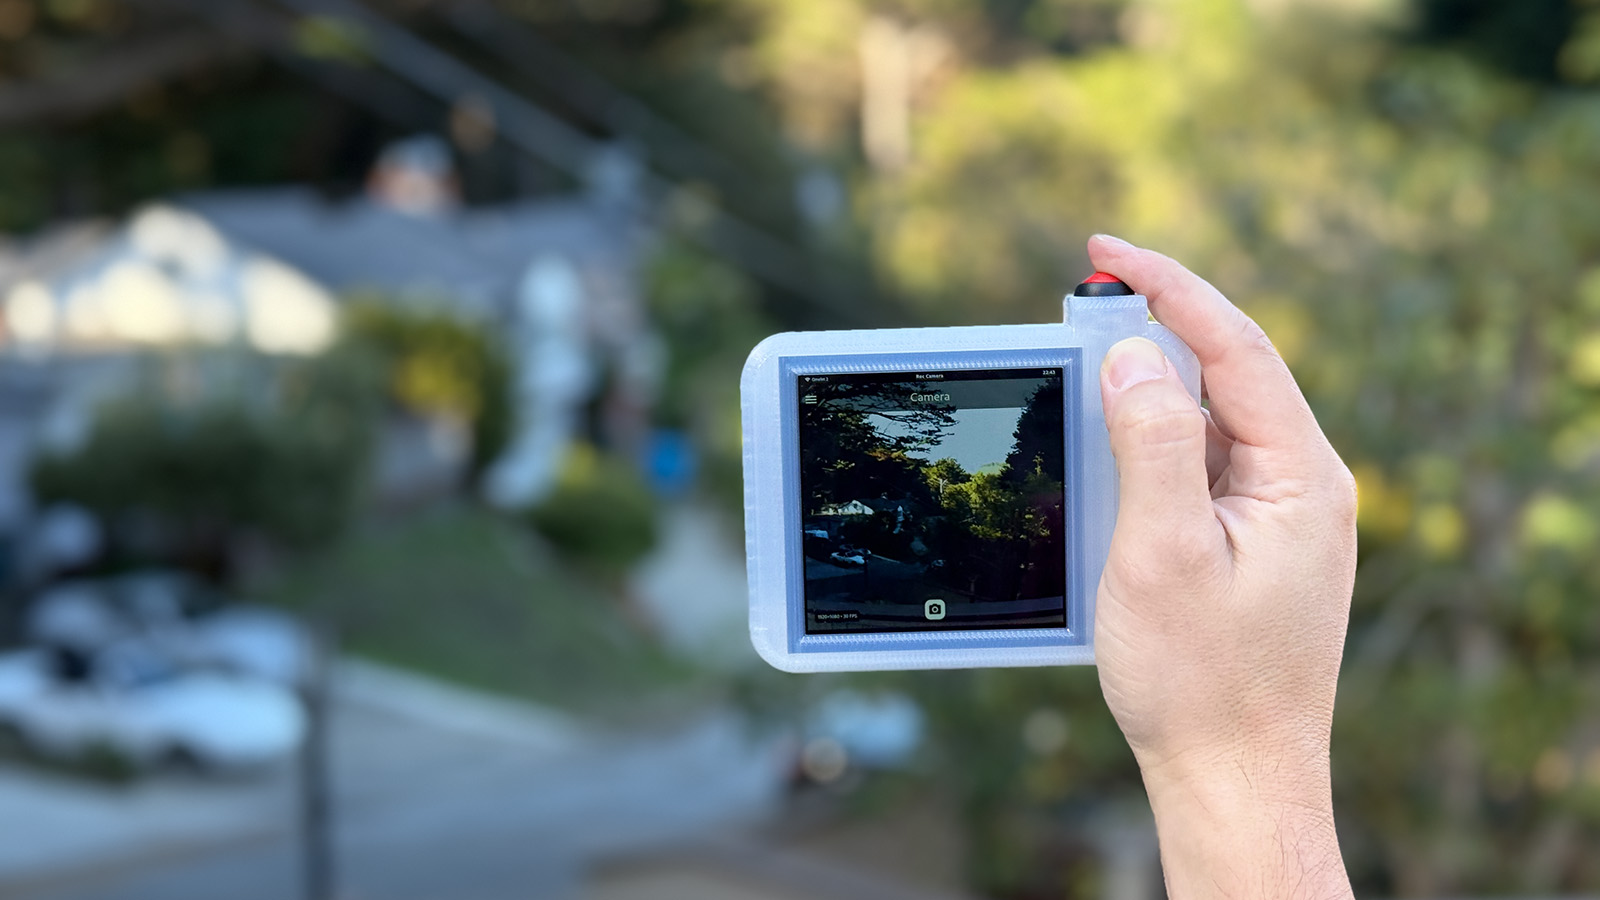
And now you can go out into the big world and take a picture!